Woodpecker Hole Repair Services for Property Owners
Visitors will learn about Woodpecker Hole Repair services and how local contractors can address and fix woodpecker damage.
- - Homeowners seeking professional woodpecker hole repair services for residential properties.
- - Property managers or landlords needing to address woodpecker damage on multi-unit buildings.
- - Commercial property owners requiring expert repair solutions for woodpecker-related damage.
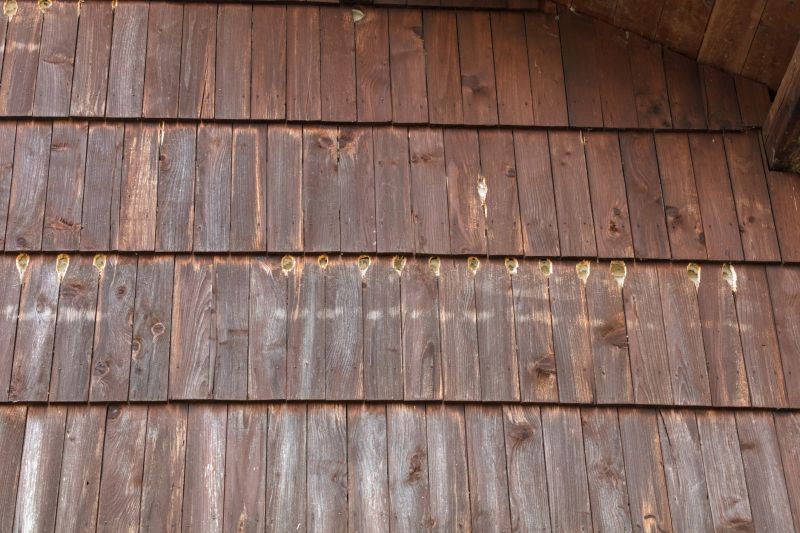
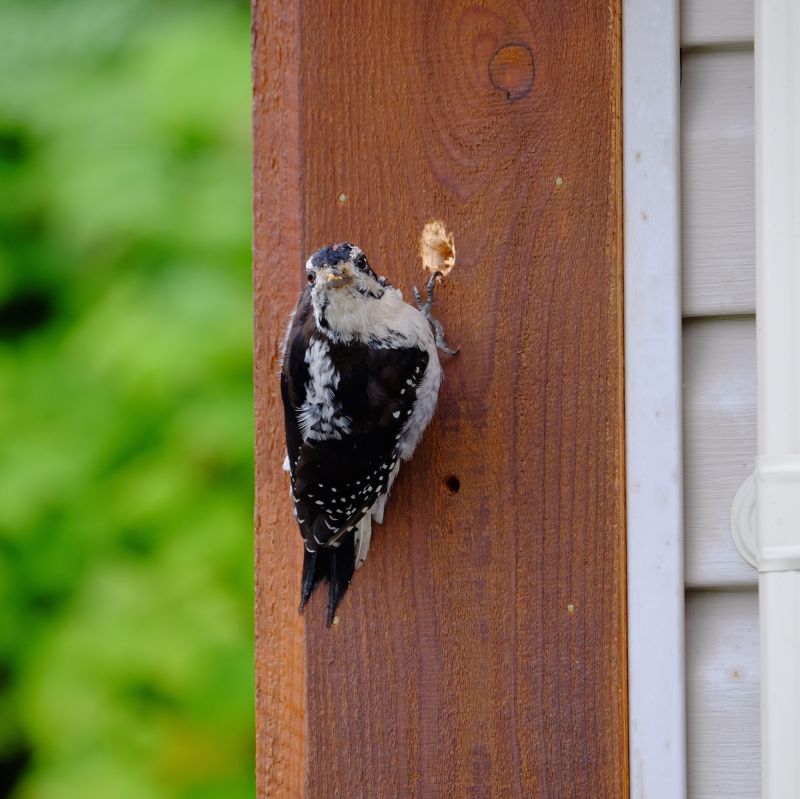

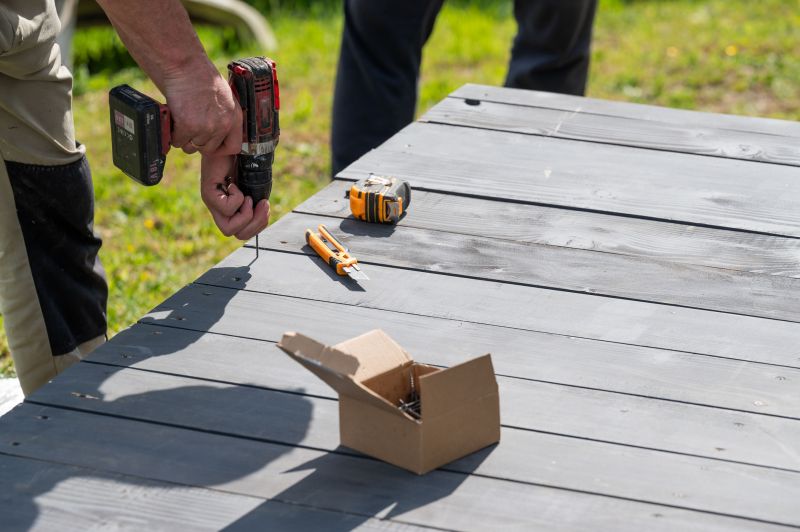
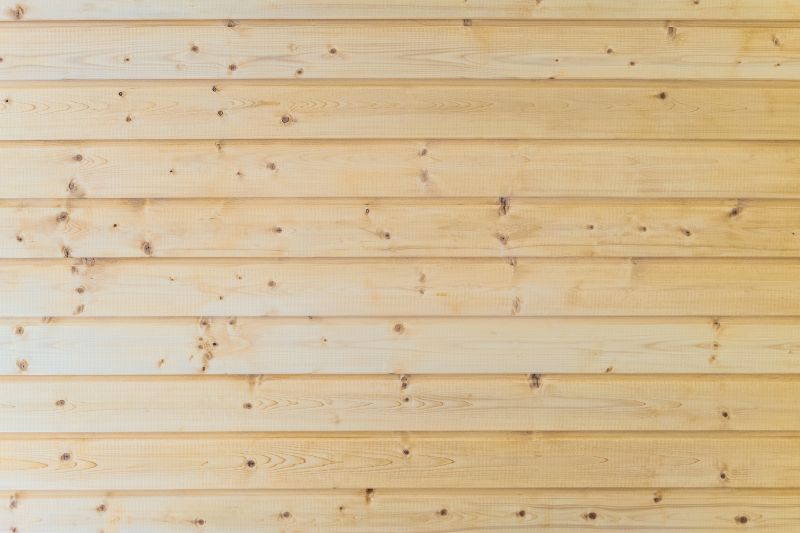
Woodpecker hole repair services are commonly sought by property owners dealing with damage caused by woodpeckers or other wood-boring insects. These professionals specialize in assessing the extent of the damage, filling and sealing holes, and restoring the integrity of the affected wood surfaces. When seeking assistance, homeowners often look for local contractors who have experience in handling these repairs efficiently and effectively, ensuring that the structural and aesthetic aspects of their property are maintained.
Local service providers offering woodpecker hole repair typically handle a variety of related tasks, including patching damaged siding, trimming or removing problematic trees, and implementing preventative measures to reduce future damage. Property owners can expect these professionals to evaluate the specific situation, recommend appropriate repair methods, and execute the work using suitable materials. Connecting with experienced local contractors helps ensure that woodpecker damage is addressed properly, helping to preserve the value and appearance of the property.
Woodpecker Hole Repair Services
This guide provides helpful information to understand woodpecker hole repair needs and what to expect from local service providers. It assists in comparing options and preparing to discuss your project with nearby contractors. The insights here aim to support informed decisions when connecting with local professionals for repair services.